
Behind the Lens


Nature POP!
Enjoy the pop culture of nature with the beautiful LEGO-built creatures of Sean Kenney. The exhibit called Nature POP! is an excellent site to behold while you stroll through nature enjoying your surroundings.

Exploring Fairchild Tropical Botanic Garden
Dragons & Mythical Creatures at Fairchild Tropical Botanic Gardens.

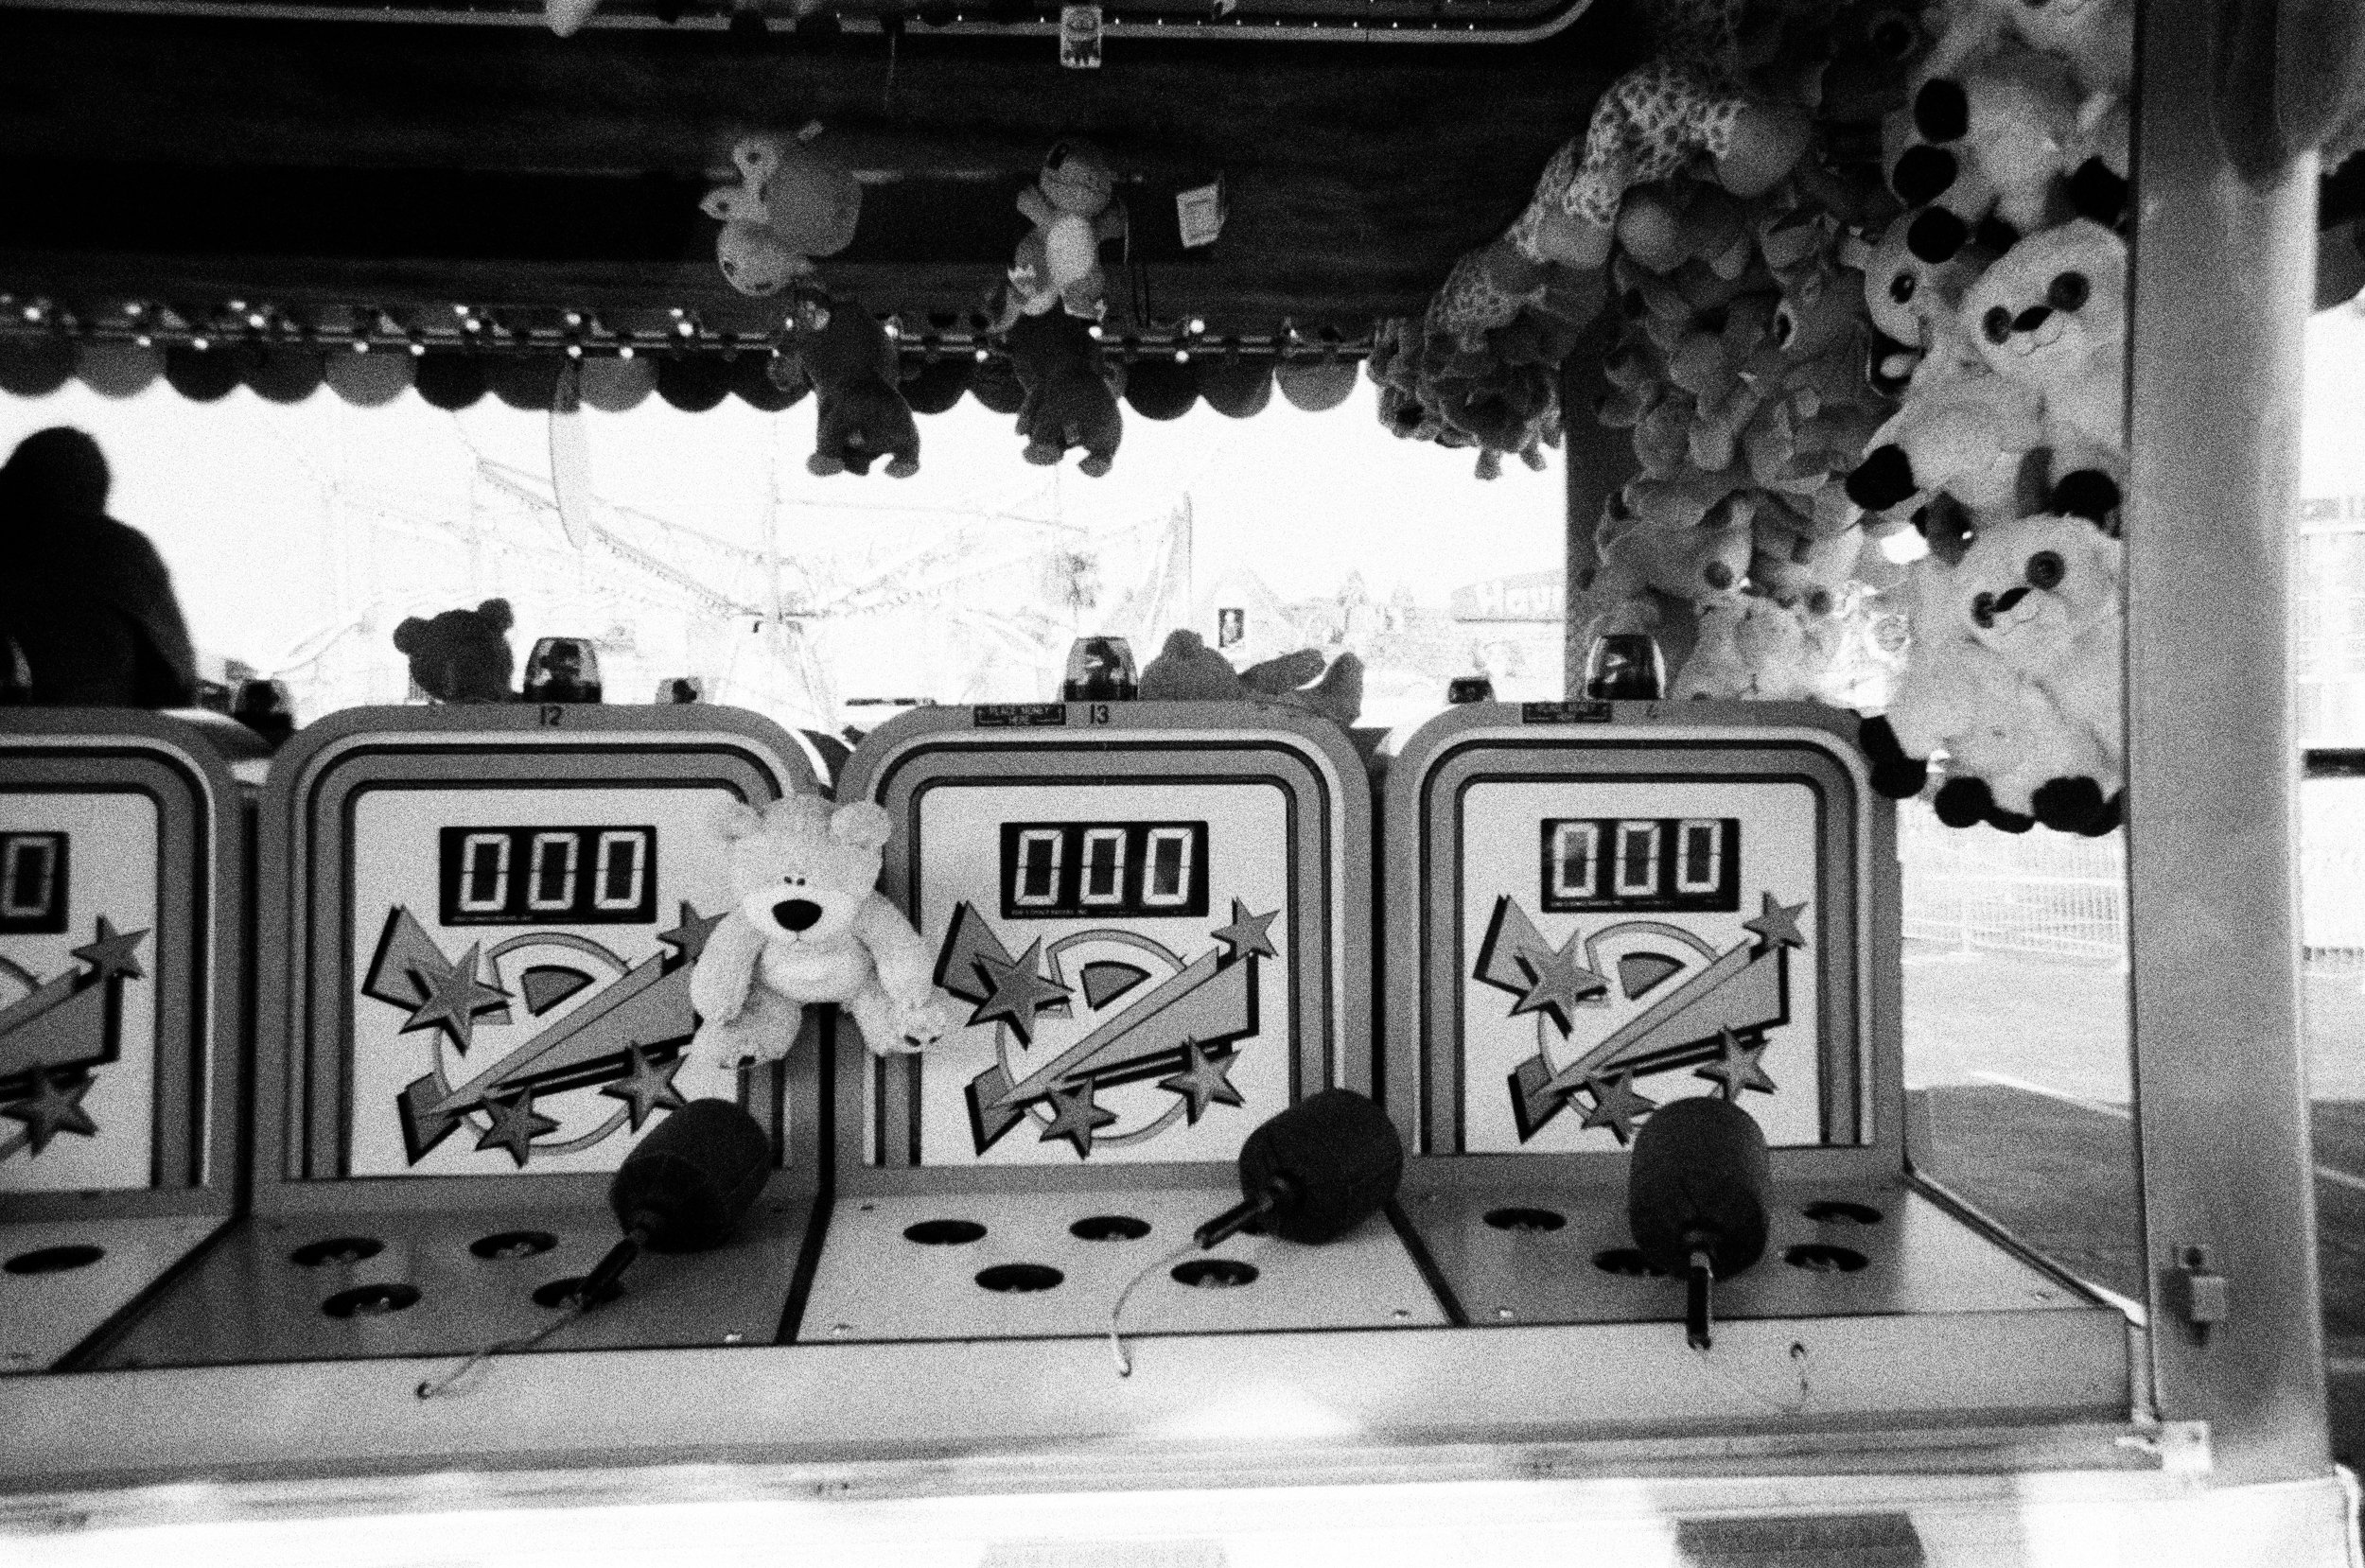
Do you like shooting film?
Do you like shooting film? Try using the Ilford HP5 Plus 400 speed single-use camera. By Tim Breaseale.
